WebDAV
WebDAV stands for Web-based Distributed Authoring and Versioning and it allows users to collaboratively modify and manage files on remote web servers.
Info
WebDAV is not enabled by default on the Private Cloud (the default ports are used by the sites). Contact support if you need it.
Connecting with WebDAV
| Information | |
|---|---|
| Host | webdav-[account].alwaysdata.net |
| Ports | 80 (HTTP) or 443 (HTTPS) |
| Identifier | assigned user and password |
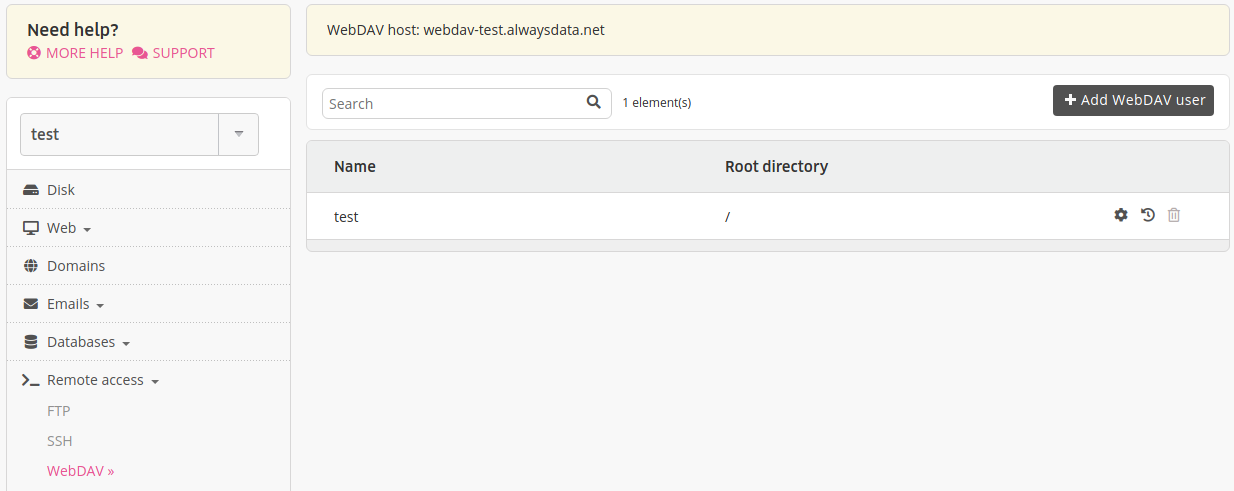
These users can be configured in the Remote access > WebDAV tab in your alwaysdata administration interface.
With Windows
Right click on the Workstation or Computer icon,
Choose Connect a network drive. From the Folder field, specify:
- in Vista and higher:
https://webdav-[account].alwaysdata.net/
- in Vista and higher:
Click on Connect under a different user name, then enter your identifiers. Validate and click on Finish.
With Mac OS X
From the Finder, choose Go > Connect to server,
From the Server address field, enter
http://webdav-[account].alwaysdata.net/;Click on Connect.
With davfs2 (Linux)
davfs2 offers the advantage of mounting WebDAV shared volumes like a local partition locale so that your files are accessible from any application. To mount a partition in /mnt/alwaysdata:
$ sudo mount.davfs https://webdav-[account].alwaysdata.net/ /mnt/alwaysdataNote
Replace webdav-[account].alwaysdata.net with your WebDAV hostname available from Remote access > WebDAV.