WebDAV
WebDAV stands for Web-based Distributed Authoring and Versioning and it allows users to collaboratively modify and manage files on remote web servers.
Connecting with WebDAV
| Information | |
|---|---|
| Host | webdav-[account].alwaysdata.net |
| Ports | 80 (HTTP) or 443 (HTTPS) |
| Identifier | assigned user and password |
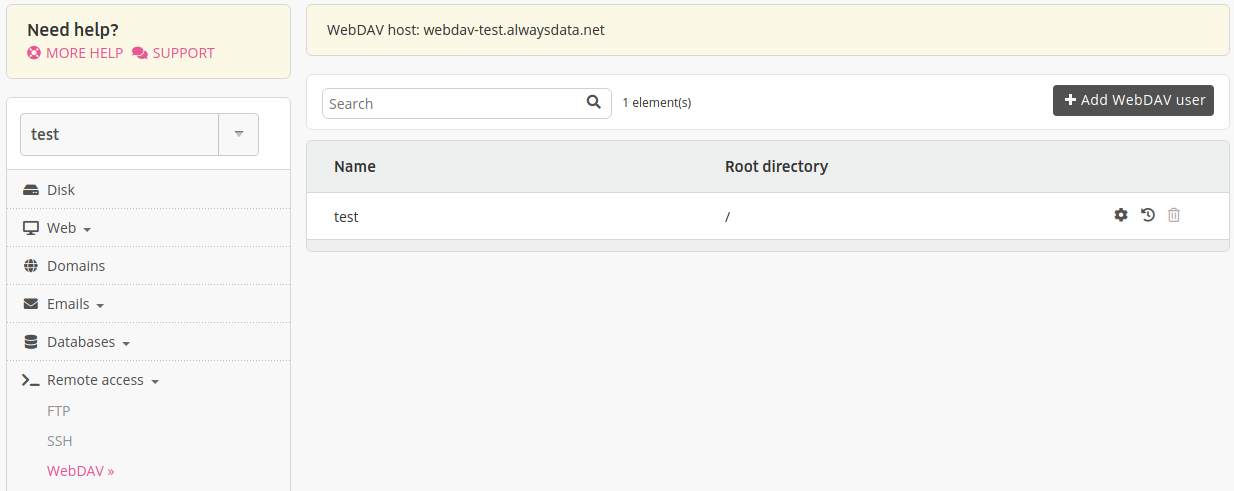
These users can be configured in the Remote access > WebDAV tab in your alwaysdata administration interface.
With Windows
Right click on the Workstation or Computer icon,
Choose Connect a network drive. From the Folder field, specify:
- in Vista and higher:
https://webdav-[account].alwaysdata.net/
- in Vista and higher:
Click on Connect under a different user name, then enter your identifiers. Validate and click on Finish.
With Mac OS X
From the Finder, choose Go > Connect to server,
From the Server address field, enter
http://webdav-[account].alwaysdata.net/;Click on Connect.
With davfs2 (Linux)
davfs2 offers the advantage of mounting WebDAV shared volumes like a local partition locale so that your files are accessible from any application. To mount a partition in /mnt/alwaysdata:
Note
Replace webdav-[account].alwaysdata.net with your WebDAV hostname available from Remote access > WebDAV.